

Our award-winning culture empowers us to bring our best selves to work. We’re as diverse as the businesses we serve and this helps us bring our mission—building a world that works better for everyone—to life.

Bold innovation.
Real results.
We create Intelligent Experiences, powered by data, built in the cloud.
Our solutions
We bring big ideas to life. Our 2000 global Kin—from engineers to data scientists and strategists—empower organizations to embrace what’s next through sustainable and profitable digital change.
2024 Leadership Priorities in Tech
We surveyed 800+ business leaders in the UK and US, revealing their tech anxiety trigger points, investment priorities, and data needs.
Download now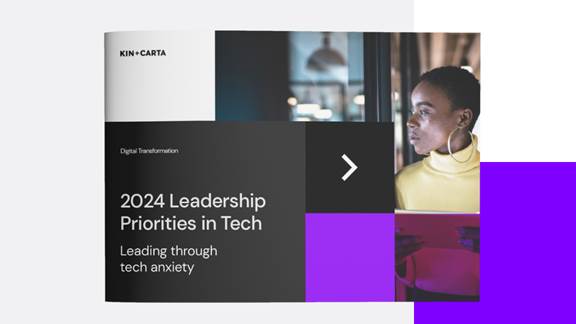
Our mission
We're building a world that works better for everyone.
Our triple bottom line puts people, planet, and performance at the heart of everything we do.
Client stories
Delivering change
Every day our expert Kin bring digital transformation to life, delivering impactful results for our global clients.
Our partners
Kin + Carta partners with the most innovative companies on the planet, including cloud providers, data analytics tools, and AI and machine learning solutions. Work with us to unlock access to a global network of tech pioneers.
Our culture

Life at Kin and Carta
Our Kin are builders, leaders, and creators. They transform our world, shaping digital transformation in the planet's most influential companies. Ready to grow your skills, make an impact, and have some fun along the way?
Discover life at Kin + CartaBusiness for good
Our B Corp certification and triple bottom line—people, planet, and performance—demonstrate our commitment to building an inclusive, equitable, and sustainable business. We have strong values and we’re never afraid to take bold actions.
Learn how we use business as a force for good
Discover industry news and thought leadership
Industry updates. Tech news. Expert analysis. We have everything you need to stay ahead on digital transformation and make smarter decisions today.
Thread Magazine
Explore the implications of a digital transformation evolution and discover the new language of innovation.
Discover Thread